How to Recover Deleted Photos from Sony Camera?
Stop using the camera first. The right recovery path depends on whether the photos were deleted, the card was formatted, or the storage itself is failing.
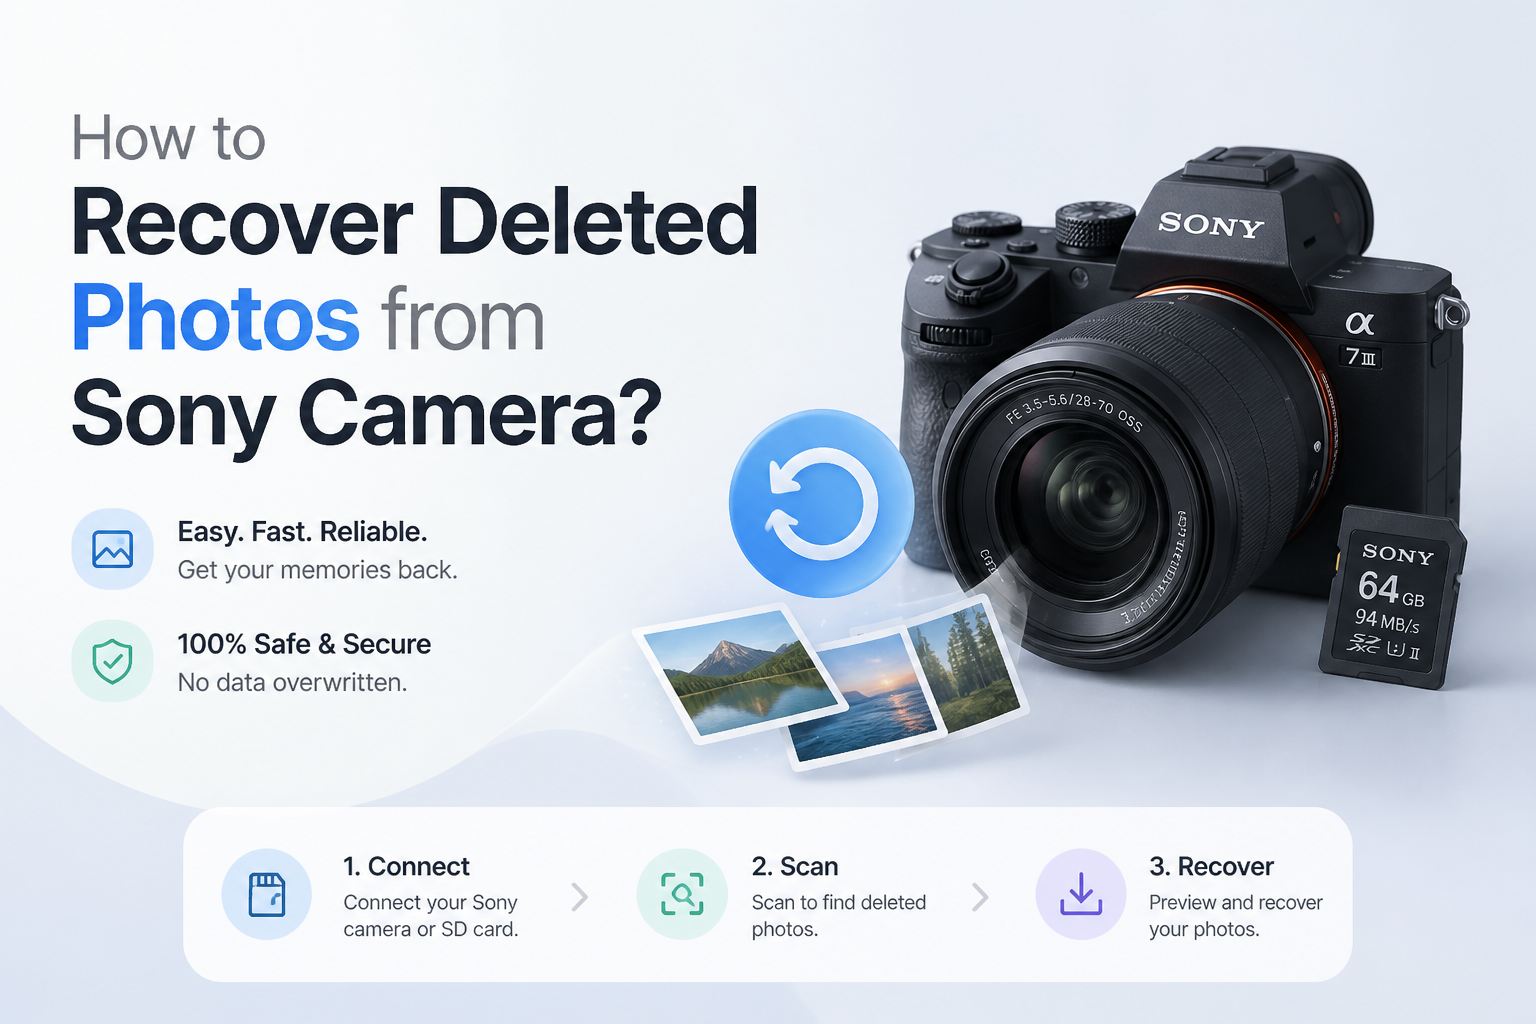
Remove the memory card from your Sony camera now, then do not write anything else to it. Connect it through a card reader, scan the full card with Disk Drill, preview the missing photos, then recover them to a different drive.
Do not take more pictures, format the card, run a camera repair command, or recover files back onto it. Each write can overwrite deleted photo data. If the card clicks, heats up, disconnects, or has physical damage, stop using it.
Scan a Sony Camera Card → Disk Drill
Scans camera memory cards for deleted photos · Offers file previews before recovery · Runs on Windows or macOS
Choose a Method to Recover Deleted Sony Camera Photos
Start with the least invasive option that fits the card's condition.
| Method | Best for | Time | Success rate |
|---|---|---|---|
| 1. Scan the Sony Memory Card With Disk Drill TRY FIRST | Deleted or formatted card photos | ~15–60 min | ● 85% |
| 2. Restore Photos From a Cloud Backup | Previously uploaded pictures | ~5–20 min | ● 95% |
| 3. Find Earlier Imports on Your Computer | Photos copied before deletion | ~10–30 min | ● 75% |
| 4. Create a Card Image Before a Deeper Scan | Unstable or error-prone cards | ~1–4 hr | ● 65% |
| 5. Send the Card to a Recovery Lab | Physical damage or critical work | ~3–14 days | ● 55% |
When Software Should Not Scan a Sony Memory Card
Skip a direct software scan if the card is cracked, burned, wet, bent, unusually hot, or constantly disconnecting. Repeated power cycles can turn a partly readable card into one that no computer detects.
Irreplaceable client photos deserve a lower tolerance for risk. Put the card in a case, note the camera model plus error message, then speak with a flash-media recovery lab.
Top 5 Ways to Recover Deleted Photos From a Sony Camera
01 Scan the Sony Memory Card With Disk Drill
Best first move after accidental deletion or a quick camera format
~15–60 min
Scan the Sony Memory Card With Disk Drill
Best first move after accidental deletion or a quick camera format
Deleted photos may remain on a Sony camera card until new data overwrites their storage space. Disk Drill can scan the card, preview found images, then recover selected files to a separate drive.
- Stop using the camera immediately. Remove its memory card without taking another photo, recording video, formatting, or editing files.
- Connect the SD, microSD, or Memory Stick to your computer through a reliable card reader. Confirm that the card appears in Disk Management on Windows or Disk Utility on macOS.
- Download Disk Drill from the official Disk Drill site, install it on the computer's internal drive, then open it.
- Select the complete memory card in Disk Drill. Click Search for lost data, then let every available scan finish.
- Open the Pictures results. Filter by Sony formats such as JPG, ARW, HEIF, or HIF, then preview several files at full size where possible.
- Select the usable photos, click Recover, then save them to the computer or another external drive. Never recover onto the source card.

02 Restore Photos From a Cloud Backup
Quickest option if the camera or phone uploaded copies before deletion
~5–20 min
Restore Photos From a Cloud Backup
Quickest option if the camera or phone uploaded copies before deletion
Photos transferred through Sony software or a paired phone may have reached a cloud library. Check every service used in your normal import routine, including its trash area.
- Sign in to the cloud service linked to your Sony transfer workflow, such as Google Photos, iCloud Photos, OneDrive, Dropbox, or a photography backup service.
- Search by the approximate shoot date, camera filename, album, location, or file type. Sony filenames commonly follow patterns such as
DSC00001.JPG. - Open the service's Trash, Bin, Recently Deleted, or deleted-files section if the images are absent from the main library.
- Select the missing photos, then use the service's restore or download command.
- Download a second copy to a local folder or external drive before clearing any cloud trash.
03 Find Earlier Imports on Your Computer
Worth checking when the card was copied or partially imported before the loss
~10–30 min
Find Earlier Imports on Your Computer
Worth checking when the card was copied or partially imported before the loss
A photo can look lost on the camera while an older imported copy still sits in an unexpected folder. Search the computer, photo catalog, trash, plus any external drive used during previous imports.
- Check the Recycle Bin on Windows or Trash on macOS. Restore matching JPG, ARW, HEIF, HIF, TIFF, or video files to a normal folder.
- Search common locations such as Pictures, DCIM, Downloads, desktop folders, plus folders named for a date or event.
- Use File Explorer or Finder to search for
DSC*,*.ARW,*.JPG,*.HEIF, or another format selected in the camera. - Open Lightroom Classic, Capture One, Photos, Imaging Edge Desktop, or the import app you normally use. Check recent imports, missing-file views, rejected images, plus catalog trash.
- Search external drives, NAS folders, laptop backups, old memory cards, plus folders created by automatic phone transfers.
04 Create a Card Image Before a Deeper Scan
Safer for a card that disconnects, reports errors, or behaves inconsistently
~1–4 hr
Create a Card Image Before a Deeper Scan
Safer for a card that disconnects, reports errors, or behaves inconsistently
A questionable card should not be stressed by repeated direct scans. A byte-for-byte image preserves its readable sectors in one file, letting you perform recovery attempts against the copy.
- Set the card's physical lock switch to the locked position if it has one. This reduces the chance of an accidental write.
- Connect the card once through a good reader. If it repeatedly vanishes, becomes unusually hot, or causes the computer to freeze, stop rather than forcing more attempts.
- Open Disk Drill's byte-to-byte backup feature or another trusted disk-imaging utility. Choose the complete camera card as the source.
- Save the image to a healthy drive with free space greater than the card's full capacity. Do not store it on the card.
- Load the completed image into Disk Drill, scan it for lost data, then preview the photo results.
- Recover selected files to a separate healthy disk. Keep the image untouched until you confirm that the recovered photos open properly.
05 Send the Card to a Recovery Lab
The cautious choice for physical damage or irreplaceable client work
~3–14 days
Send the Card to a Recovery Lab
The cautious choice for physical damage or irreplaceable client work
Software cannot repair a cracked card, failed controller, broken connector, or damaged flash component. A specialist may access the memory directly, though cost rises sharply once hardware work is required.
- Power off the Sony camera, remove the card, then place it in a protective case. Avoid tape over contacts, cleaning fluids, bending, freezing, or opening the card.
- Write down what happened, including deletion, in-camera formatting, water exposure, impact, error messages, plus any software scans already attempted.
- Choose a lab that handles flash media or camera cards, offers an evaluation, explains pricing clearly, plus returns recovered data on separate storage.
- Ask whether further DIY scanning could reduce the odds. For a failing card, do not reconnect it unless the lab advises you to do so.
- Ship the card in an anti-static sleeve inside a rigid padded container. Use tracking for valuable or client-owned media.
- Check recovered-file listings or sample previews before approving final delivery where the lab offers that option.
Which Sony Photo Recovery Method Should You Try?
Start by scanning the removed memory card with Disk Drill if the photos were deleted or the card received a quick format but still appears on your computer. Check cloud storage plus earlier computer imports first if your workflow creates automatic copies. Make a card image before deeper recovery when the media seems unstable, while physical damage calls for a qualified lab.
Keep the card out of the camera until every recovered photo has been opened, checked, plus copied to two safe locations.